Getting started
GitHub Desktop is a free desktop application developed by GitHub to make everyday Git tasks easier through a visual interface. It is built for Windows and macOS, replacing much of the command-line friction with point-and-click workflows so developers can stay focused on their code instead of memorizing syntax. Its biggest strength is that it makes Git far more approachable for beginners while still connecting tightly with GitHub for day-to-day collaboration.
Compared with command-line Git, GitHub Desktop stands out in a few clear ways:
<table> <thead> <tr> <th>Area</th> <th>GitHub Desktop</th> <th>Git command line</th> </tr> </thead> <tbody> <tr> <td>How you work</td> <td>Graphical interface, click-based actions</td> <td>Command line, syntax must be remembered</td> </tr> <tr> <td>Learning curve</td> <td>Lower, no need to memorize commands</td> <td>Higher, usually requires learning 10+ commands</td> </tr> <tr> <td>Feature coverage</td> <td>Common Git tasks are visualized, but some advanced features are limited</td> <td>Full support, including complex branching strategies, submodules, and more</td> </tr> <tr> <td>Customization</td> <td>Limited to what the interface exposes</td> <td>Very high, with config files, aliases, hooks, and custom workflows</td> </tr> <tr> <td>Collaboration</td> <td>Strong GitHub integration, including direct PR viewing and commenting</td> <td>Usually depends on external tools and manual remote/PR handling</td> </tr> </tbody> </table>Its visual design is the main appeal. You can inspect diffs, commit changes, create branches, and merge code without leaving the interface. There is also a one-click sync workflow that helps keep local and remote repositories aligned with less effort.
GitHub Desktop is best understood as a simplified Git tool. It does not fully replace command-line Git, but it offers a much friendlier experience for common tasks.
Installation
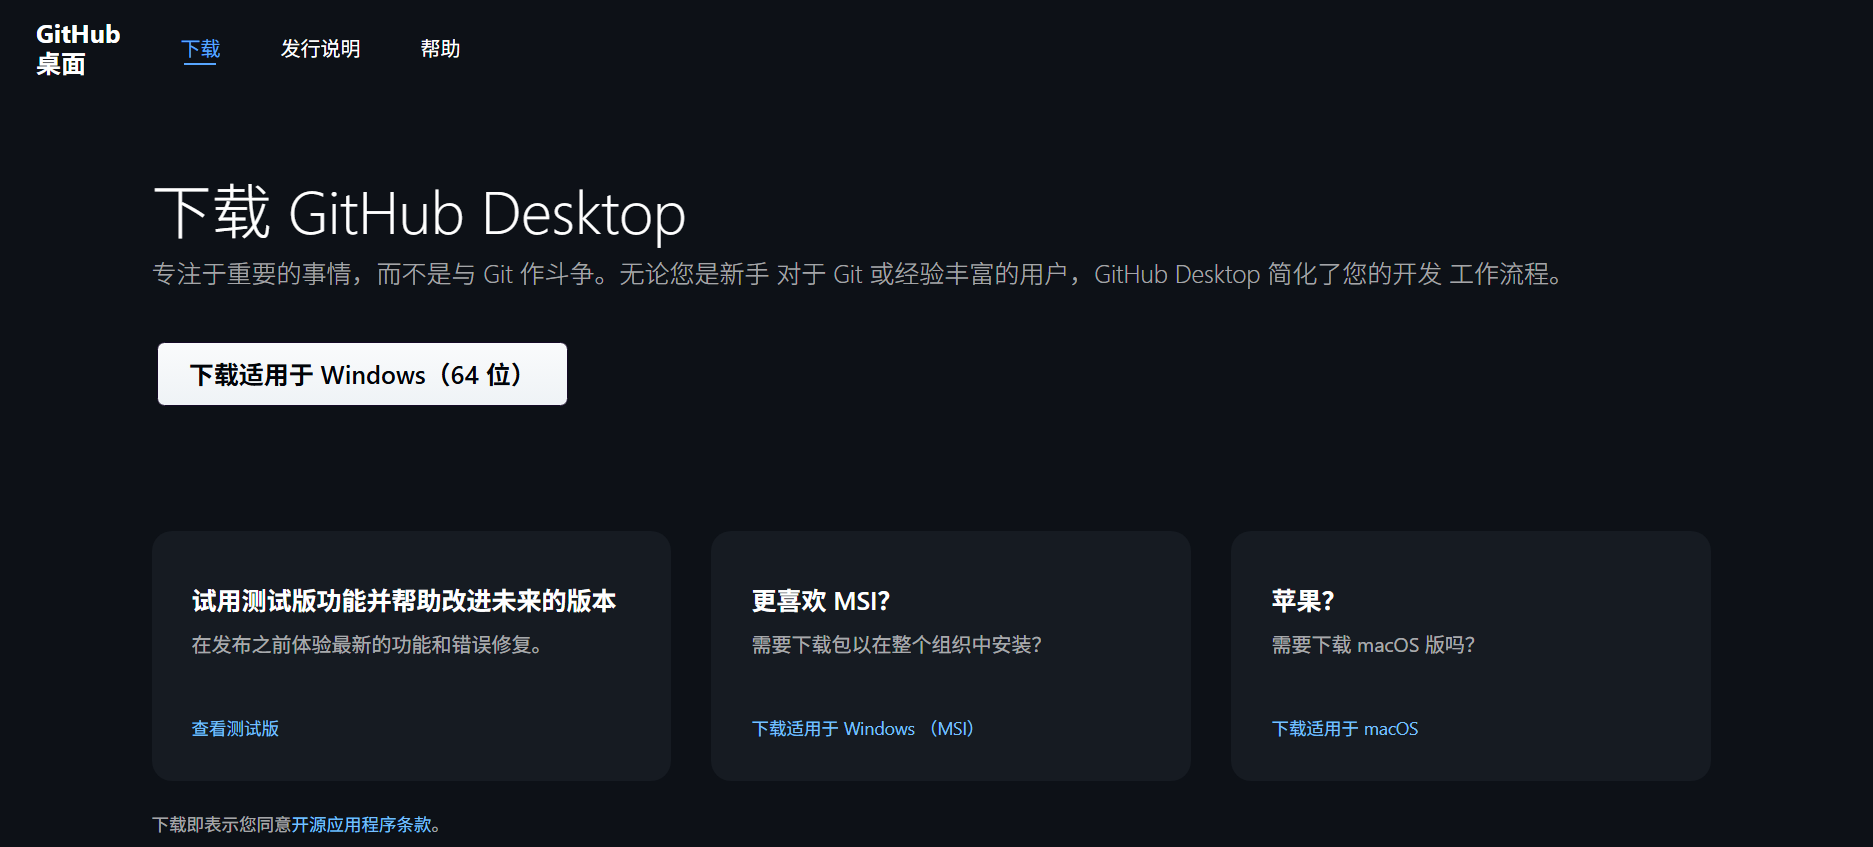
Installing GitHub Desktop is straightforward. Download the installer for your operating system from the official website, then run it.
According to the source material, GitHub Desktop supports Windows, macOS, and Linux. It requires macOS 11.0 or later, and Windows 10 64-bit or later. On Windows, the usual process is to click Download for Windows on the website, then double-click the installer file. Setup generally finishes within a few minutes, and the app launches automatically when installation is complete.
Initial setup
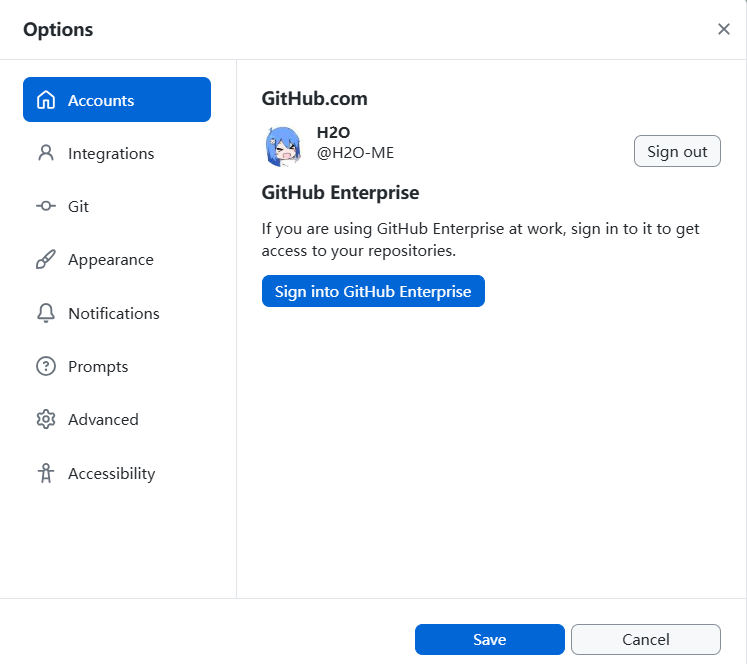
When you open GitHub Desktop for the first time, sign in with your GitHub account. Click Sign in to GitHub.com in the upper-left corner, then enter your GitHub credentials. After signing in, the app will automatically sync your repository list so you can quickly access and manage your projects.
A few basic settings can also improve the overall experience:
- Automatic syncing
- Go to Options > Sync
- Enable Automatically fetch to keep repositories up to date in the background
- Decide whether to enable Push on commit so changes are pushed automatically after each commit
- Theme and appearance
- Go to Options > Appearance
- Switch between light and dark themes
- Adjust visual settings such as font size and line spacing for a more comfortable layout
Cloning a repository
Cloning a repository is usually the first real step in GitHub Desktop.
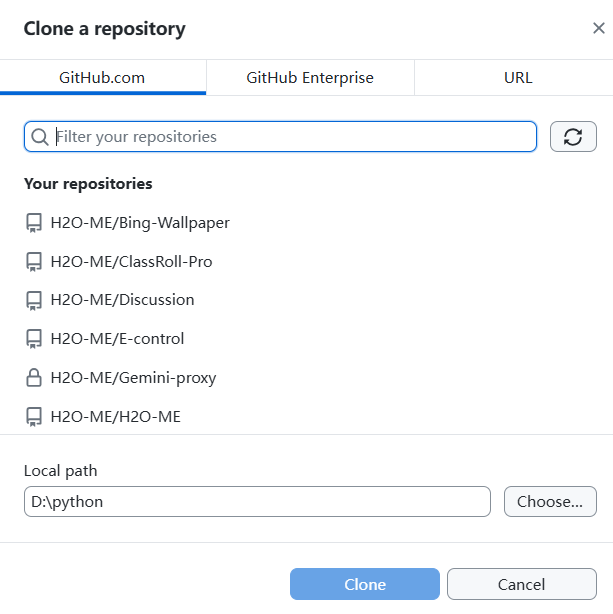
Open the app, then choose File > Clone Repository from the top-left menu. In the dialog window, there are multiple ways to get a repository. Two of the most common are:
-
Clone from a URL
In the Clone a repository window, open the URL tab, paste the repository address into the URL field, choose a Local path, and click Clone. -
Clone from your GitHub account
In the same Clone a repository window, go to GitHub.com, find the repository you want, select a Local path, and click Clone. GitHub Desktop handles the rest.
Once cloning is finished, the repository appears in the list on the left. Selecting it opens the working view for that project.
Committing changes
Committing code is one of the most basic Git operations, and GitHub Desktop makes it much easier to follow visually.
After you edit your files, the app automatically detects changes and shows them under the Changes tab. Each file is marked by status: newly added items appear in green, and deleted items appear in red. Clicking a file lets you inspect the detailed diff.
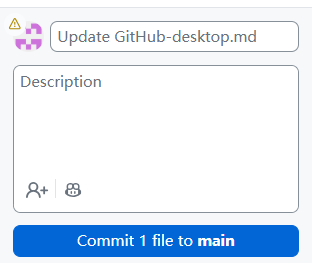
From there, you can choose which files to include in the commit. At the bottom of the window, enter a short commit message in Summary, and use Description if you want to add more detail.
Then click Commit to main (or whatever branch you are currently on). That records the changes in your local repository, but it does not send them to GitHub yet.
To upload those changes to the remote repository, click Push origin.
Branching and merging
GitHub Desktop also provides a much more approachable way to work with branches.
-
Create a new branch
Open the Branch dropdown in the top toolbar and choose New branch. Enter a branch name, select the branch you want to base it on, and click Create branch. The app creates the branch and switches to it immediately. -
Switch branches
Open the Current branch dropdown and choose the branch you want. GitHub Desktop updates the working directory to match that branch automatically. -
Merge a branch
After finishing work on a branch, switch to the target branch and open the Branch dropdown, then choose Merge into current branch. Select the branch to merge. If there are no conflicts, the merge completes automatically. If conflicts exist, they must be resolved manually before committing. -
Delete a branch
Open Current branch, choose the branch you want to remove, and click Delete branch. This only removes the local branch. Remote branches must be deleted on the GitHub website.
Keeping local and remote repositories in sync
Syncing is essential if you want your local repository to stay aligned with the remote version.
-
Fetch origin
Clicking Fetch origin downloads the latest updates from the remote repository without changing your local files. This is similar togit fetch. -
Pull origin
Clicking Pull origin downloads remote updates and merges them into your local repository. If there are no conflicting changes, the process completes automatically. If conflicts appear, they must be resolved before committing. This is similar togit pull. -
Sync
Clicking Sync combines fetch and pull behavior to help keep local and remote content consistent. If conflicts are detected, GitHub Desktop prompts you to resolve them first.
Resolving conflicts
When multiple people edit the same file, merge conflicts can happen. GitHub Desktop marks conflicted files with a Conflict label next to the filename.
The usual process is:
- Open the conflicted file
- GitHub Desktop shows the conflict markers in the file:
<<<<<<<,=======,>>>>>>> - Edit the file manually and decide which code to keep
- Save the file; once the conflict is resolved, the conflict label disappears
- Click Commit to main to record the resolved version
For routine Git work, GitHub Desktop can make the whole process much less stressful. It provides a clear history of every change, removes the need to remember a long list of commands, and reduces mistakes caused by typing the wrong parameters. If your workflow mostly involves editing files, reviewing diffs, committing, branching, and syncing with GitHub, a visual tool like this can feel far more comfortable than working entirely in the terminal.