October arrived and I'm sitting at home, writing blog posts again. The recent frequency (is it even that frequent?) is mostly a side effect of my fiction writing going badly. Blogging is a way to take the edge off the anxiety first.
Here's what's in this one: a short walkthrough of how Hugo template calls work, and a CSS trick for building a camera-shaped photo frame. Lots of images ahead.
A few small things happened on the blog:
- I gave the homepage and the archive page a small facelift.

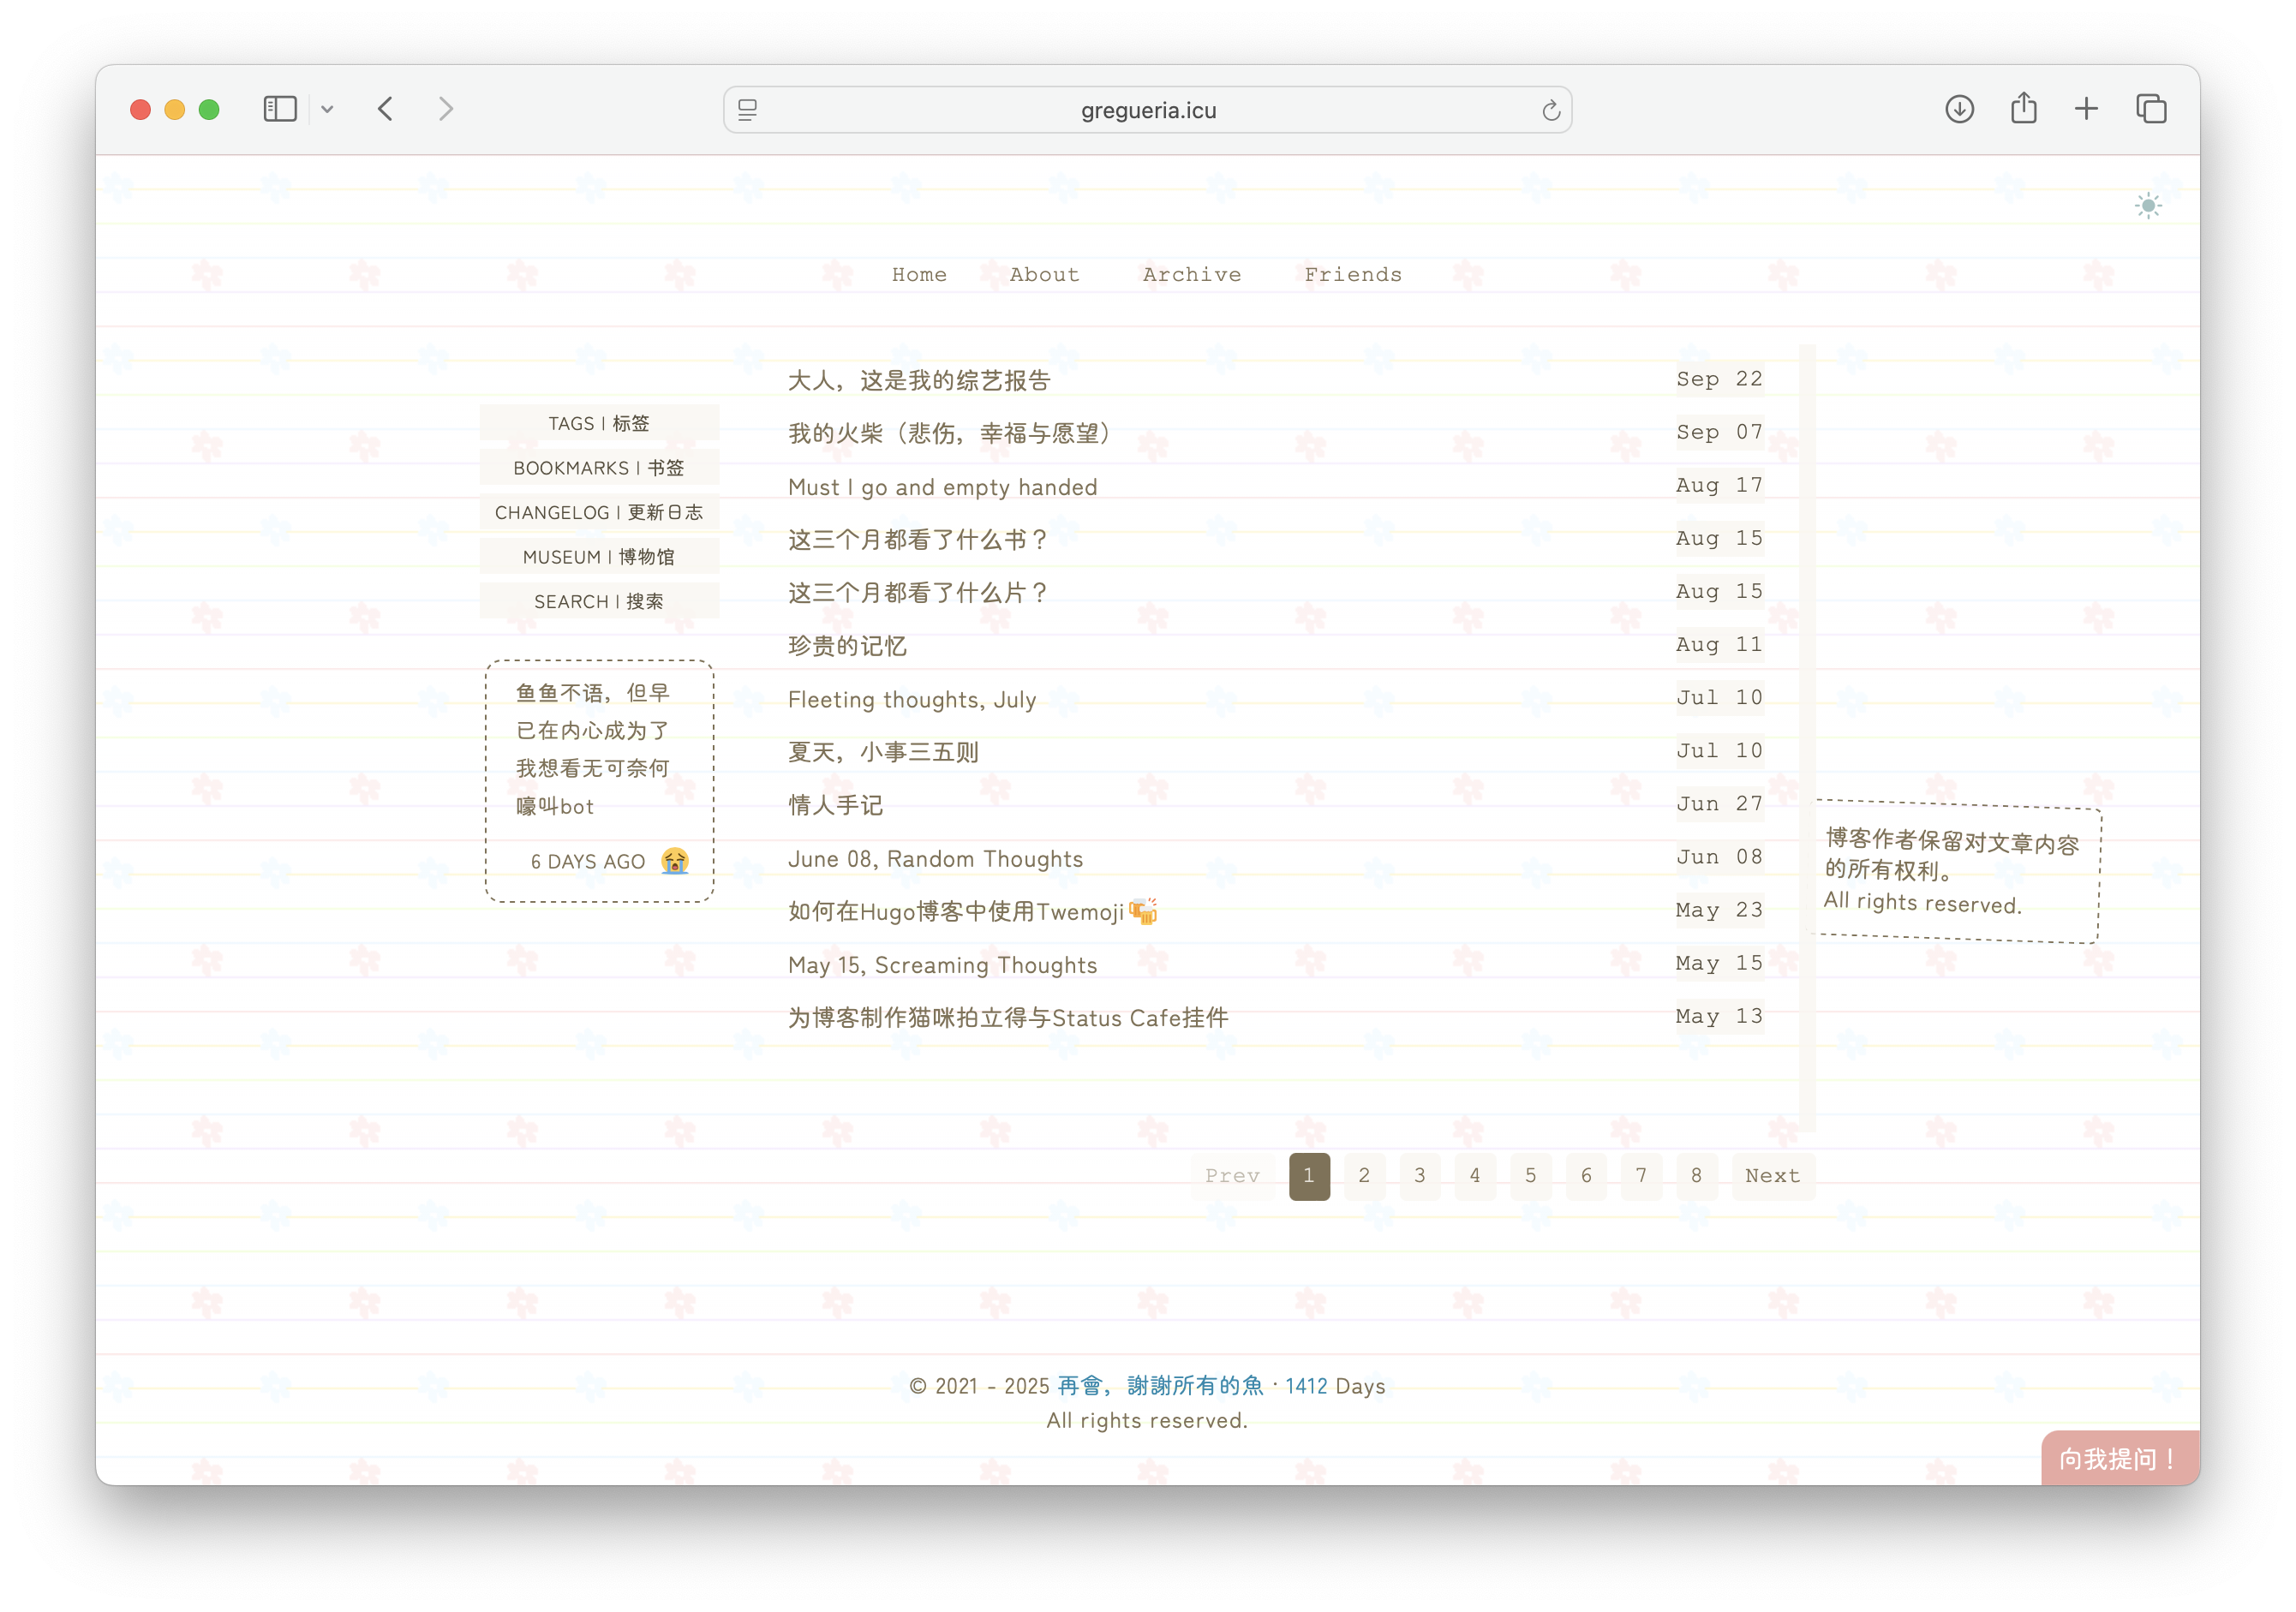
Not a huge change — I just shifted the color palette since autumn is on the way. Pretty cute, right? The theme code is a mess, though. Any CSS edit, even a simple color swap, ends up touching everything at once. I've started wondering whether to just build a fresh theme folder from scratch.
- The bigger project: I created a fan page for an actor I like ♡


It's a rough little site, but it's full of genuine affection and a hundred percent cuteness (?) The whole thing is hand-cobbled HTML. I've mentioned before how much I enjoy wandering Neocities and Nekoweb — every site there has its own style and its own kind of creativity. Now that I've written one myself, I realize it's actually really hard. The final result looks simple enough.
A Brief Note on Calling Hugo Templates
How to create and use a separate template/page in Hugo — a few words on that.
My blog has two kinds of page templates. One is for guide-type posts and uses the more detailed layout (also the default template). The other is a diary template that hides the date and word count (right-hand image).


This post is itself using the diary template. So how does that work?
- Create
/layouts/posts/diary.html(or/layouts/_default/diary.html) and inside it define something like{{ .Content }}so the Markdown body gets pulled in. - Add
layout: "diary"to the post's front matter. Hugo will look for those two files in priority order and call whichever it finds. If neither exists, it falls back to the normal post template,/layouts/posts/single.html.
The following describes Hugo's template lookup logic — skip it if that's not your thing.
When you put
layout: "diary"in the front matter, you're telling Hugo: look for a file calleddiary.html.Hugo searches in two places and stops as soon as it finds a match:
- (Content type first) It checks the directory that matches the current content's
type.
typedefaults to the folder the Markdown file lives in — if it's in/posts/, the type isposts. You can override it in front matter withtype: "xxx".For example:
themes/.../layouts/TYPE/diary.html
- (Global default) If nothing turned up in step one, it drops back to the global
_defaultdirectory.For example:
themes/.../layouts/_default/diary.html
- If neither
diary.htmlexists, it goes back to the defaultsingle.htmltemplate.
With that pattern, you can essentially rewrite every page yourself.
My fan page was built a different way. Instead of being a single page under posts, it's set up as its own type with /layouts/fanpage/single.html (and type: fanpage defined in front matter).
The difference from just creating a layouts/.../xxx.html file is that this establishes a separate type grouping. The fanpage type can have its own RSS feed, its own list page (list.html), and its own stats, rather than existing as one more page under /posts/.
So if you want to keep several independent kinds of content in one blog — fiction, essays, drawings — this approach might suit you better.
I haven't used it deeply yet, so I'll stop here for now.
Building a Camera Photo Frame with CSS
The part of the fan page that took the most time was... making this camera:

⬆️ My hand-built little camera. I like it.
The core idea: use a parent container (.camera-container) to control the size and animation of the whole camera component, then use absolute positioning to place the camera frame and the photo underneath so the photo appears to sit inside the camera.
Component code and camera image
<div class="camera-container">
  <img class="photo" src="照片路径" >
  <div class="camera-frame"></div>
</div>

/* ⬆️HTML and the path to the underlying photo, ⬇️CSS and the camera image path */

<style>
.camera-container {
    width: 274px;
    height: 179.6px;     /* Camera dimensions: the camera image is 685x449 pixels, each multiplied by 40% */
    transform: translate(0px, 0px);
    transition: transform 0.3s ease, filter 0.3s ease;
    filter: drop-shadow(4px 4px 5px #fdf8e3);
    margin: 0 auto;
    position: relative;
}
.camera-container:hover {
    transform: translate(5px, 5px) scale(1.05);
    filter: drop-shadow(8px 8px 10px #c6c2b1);
}
.camera-frame {
    position: absolute;
    top: 0;
    left: 0;
    width: 100%;
    height: 100%;
    background-image: url('/site/camera.png'); /* Change to the path of your camera image */
    background-size: 100% 100%;
    background-repeat: no-repeat;
    z-index: 10;
}
.photo {
    width: 60%;
    height: 60%;
    top: 50px;
    left: 11px; /* Adjust these four values based on image size and position so it fits inside the camera without overflowing */
    z-index: 5;
    position: absolute;
    object-fit: cover;
}
</style>
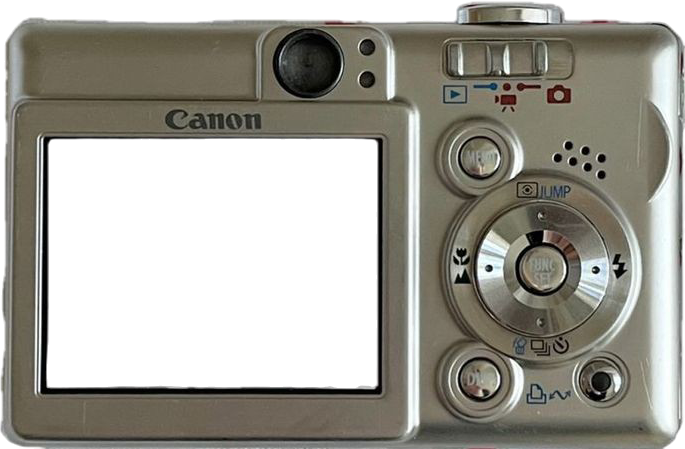
The camera image should work if you right-click and save it. The same idea applies to other cameras, Polaroids, paperclips — as long as you fiddle with the image positioning, you can get a similar effect.

Sorry, all the examples are of Uncle Li... don't laugh. But it's cute, right? That's it for this installment of hand-crafted HTML tips (?) See you next time.