Mobile browsing is now a normal part of how people read blogs, and an installable web app can make a site feel more immediate: a home-screen icon, a standalone window, and some offline resilience. On a Hexo blog, those PWA pieces are usually added through a small set of packages and two files.
Install the Hexo PWA packages
The first package mentioned in many guides is hexo-pwa. Install it from the command line:
npm install hexo-pwa --save
On the blog I was working with, this step produced an error after installation, so I eventually removed the package. It is still covered in a lot of tutorials, so it is worth knowing about.
Then add the service worker helper:
npm install hexo-service-worker --save
Create manifest.json
The manifest is what gives the browser the app's name, icons, colors, and launch behavior. For Hexo, create a source/ folder in the blog root if it is not already there, then add a file named manifest.json inside it. You can also generate the file with an online manifest builder rather than writing every field by hand.
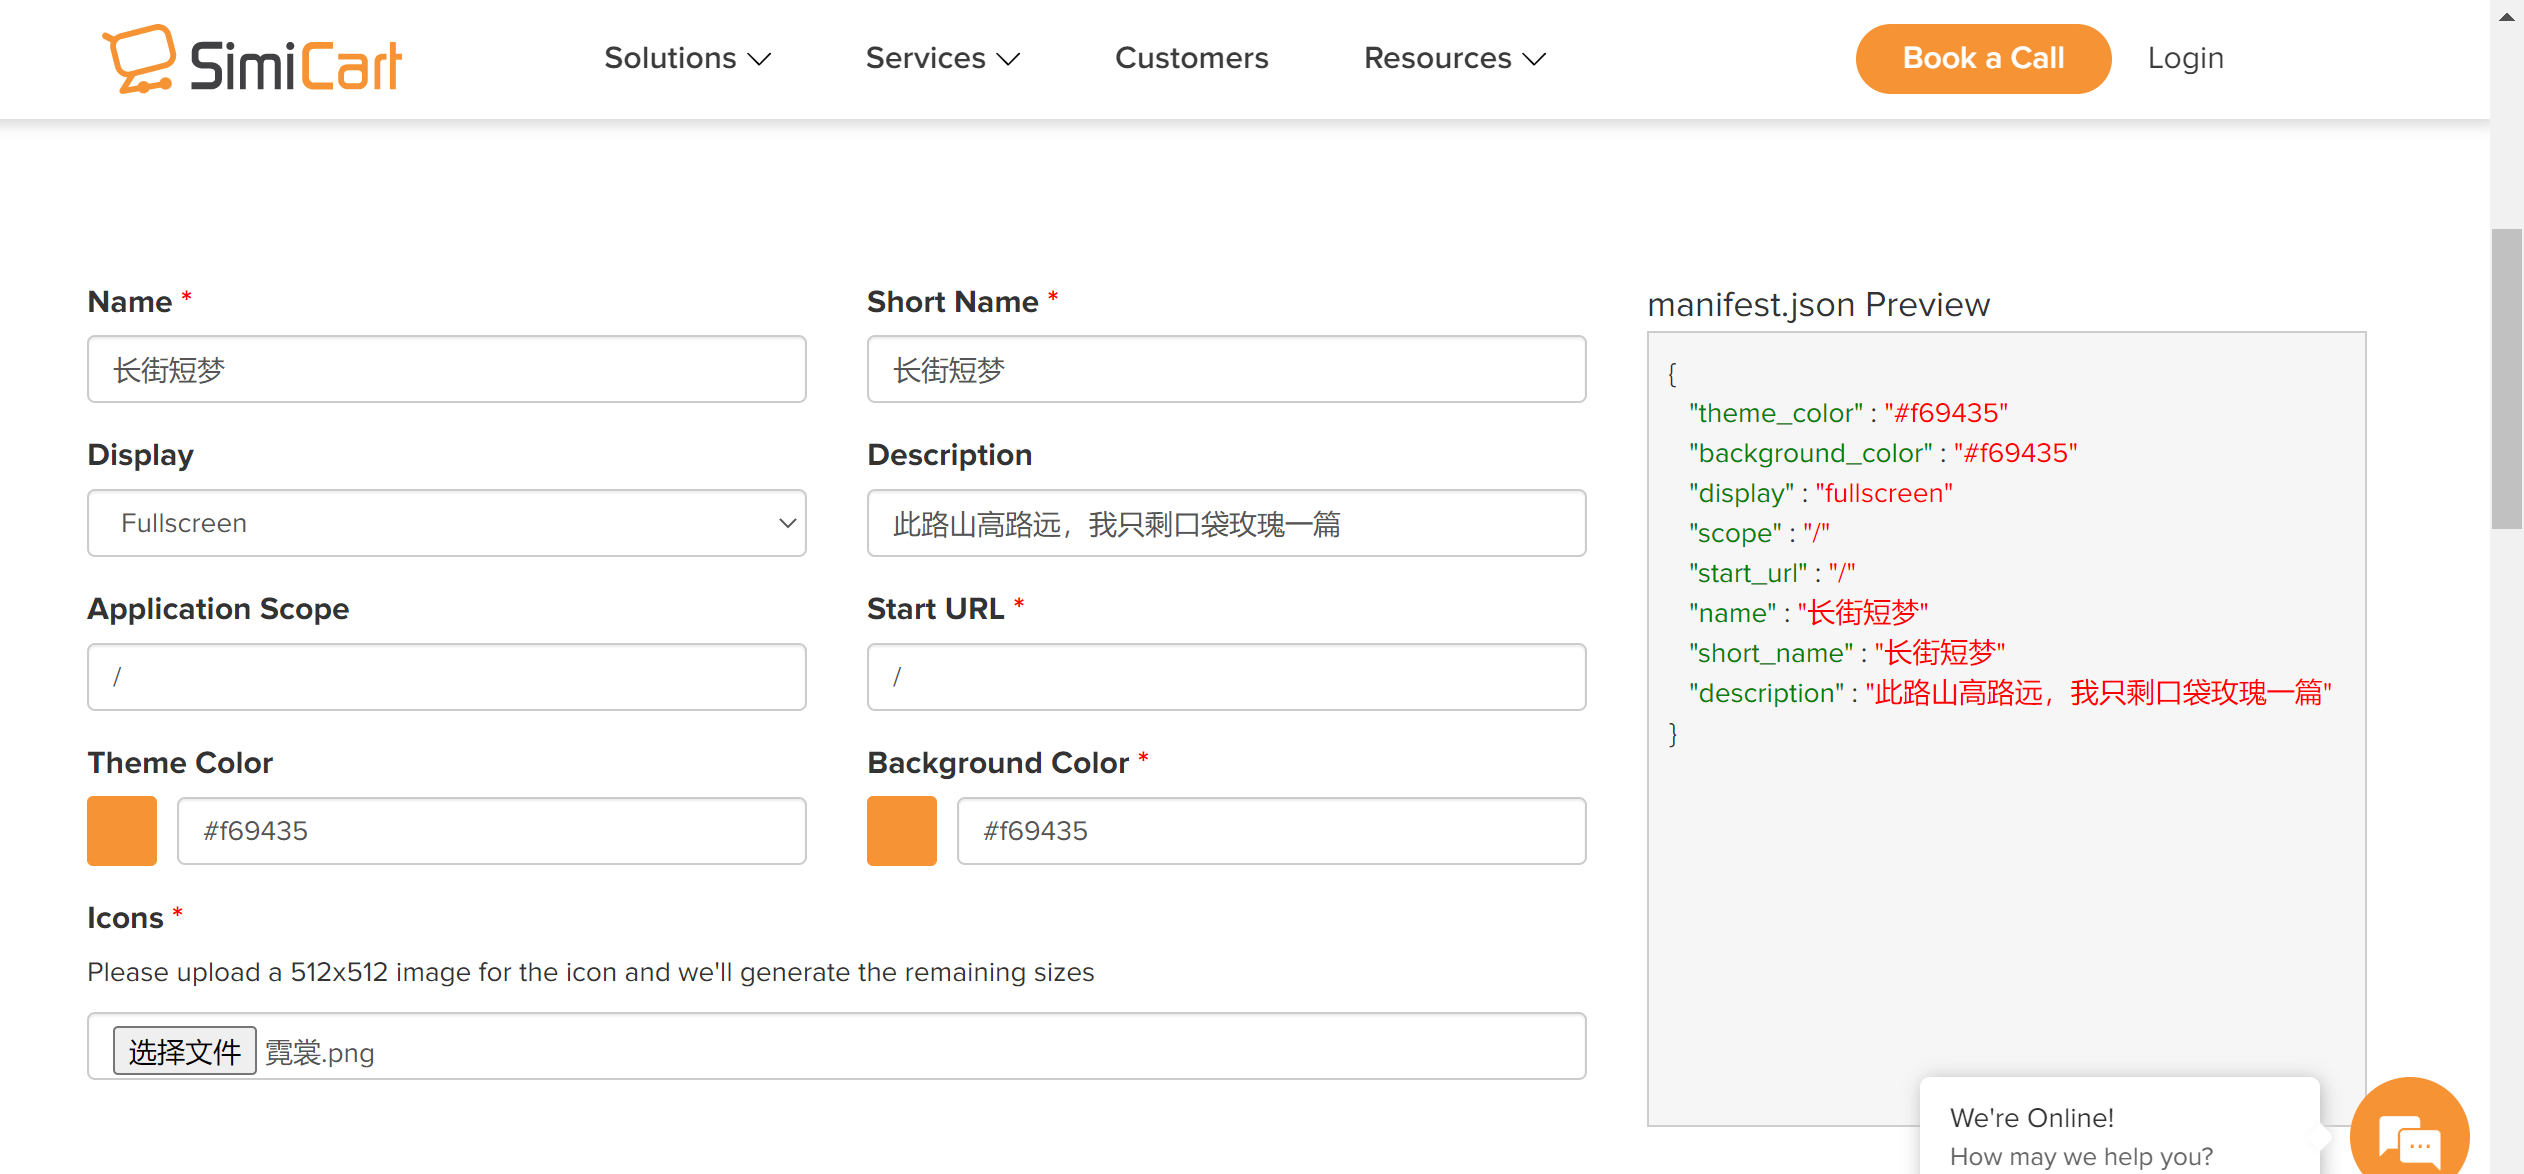
Here is the example that was used:
{

    "theme_color": "#f69435",

    "background_color": "#f69435",

    "display": "fullscreen",

    "scope": "/",

    "start_url": "/",

    "name": "\u957f\u8857\u77ed\u68a6",

    "short_name": "\u957f\u8857\u77ed\u68a6",

    "description": "\u6b64\u8def\u5c71\u9ad8\u8def\u8fdc\uff0c\u6211\u53ea\u5269\u53e3\u888b\u73ab\u7470\u4e00\u7bc7",

    "icons": [

        {

            "src": "/img/icon-192x192.png",

            "sizes": "192x192",

            "type": "image/png"

        },

        {

            "src": "/img/icon-256x256.png",

            "sizes": "256x256",

            "type": "image/png"

        },

        {

            "src": "/img/icon-384x384.png",

            "sizes": "384x384",

            "type": "image/png"

        },

        {

            "src": "/img/icon-512x512.png",

            "sizes": "512x512",

            "type": "image/png"

        }

    ]

}
The important fields are straightforward: name and short_name control the label shown for the app, icons lists the image files at different sizes, start_url sets the opening page, theme_color and background_color define the color treatment, and display decides how much browser chrome appears when the app is launched.
Add sw.js
A service worker handles caching and makes the offline behavior possible. In the same way, create source/sw.js in the Hexo blog and put the service worker code there. The sample below caches a few core assets during installation and serves cached responses when available:
const cacheName = 'my-cache';


self.addEventListener('install', event => {

    event.waitUntil(

        caches.open(cacheName).then(cache => {

            return cache.addAll([

                '/',

                '/index.html',

                '/css/style.css',

                '/js/script.js',

                '/images/logo.png'

            ]);

        })

    );

});


self.addEventListener('fetch', event => {

    event.respondWith(

    caches.match(event.request).then(response => {

    return response || fetch(event.request);

    })

    );

    });
cacheName is the name of the cache. The install event opens that cache and adds the listed files; the fetch event checks the cache first and falls back to the network when the requested resource has not been cached.
Build and test
Once the files are in place, generate the site and preview it locally:
# Clean cache / generate static files / local preview
$ hexo clean && hexo g && hexo s
After that, deploy the generated site and test the PWA behavior in a browser. It helps to check the manifest, confirm that the service worker registers, and try loading the site again after going offline. The exact experience will depend on the browser and on how the blog is served, but those are the pieces needed for the basic setup.