Introduction
The Korean Exynos variant of the Galaxy S9+ (SM-G965N) doesn't have a locked bootloader, so you can skip the usual unlocking step. However, you still need to enable OEM unlock in developer options, which will wipe your data. This guide walks through installing TWRP, formatting the data partition, and flashing a custom ROM.
Step 1: Enable OEM Unlock
Enabling OEM unlock will erase all data, so back up anything important first.
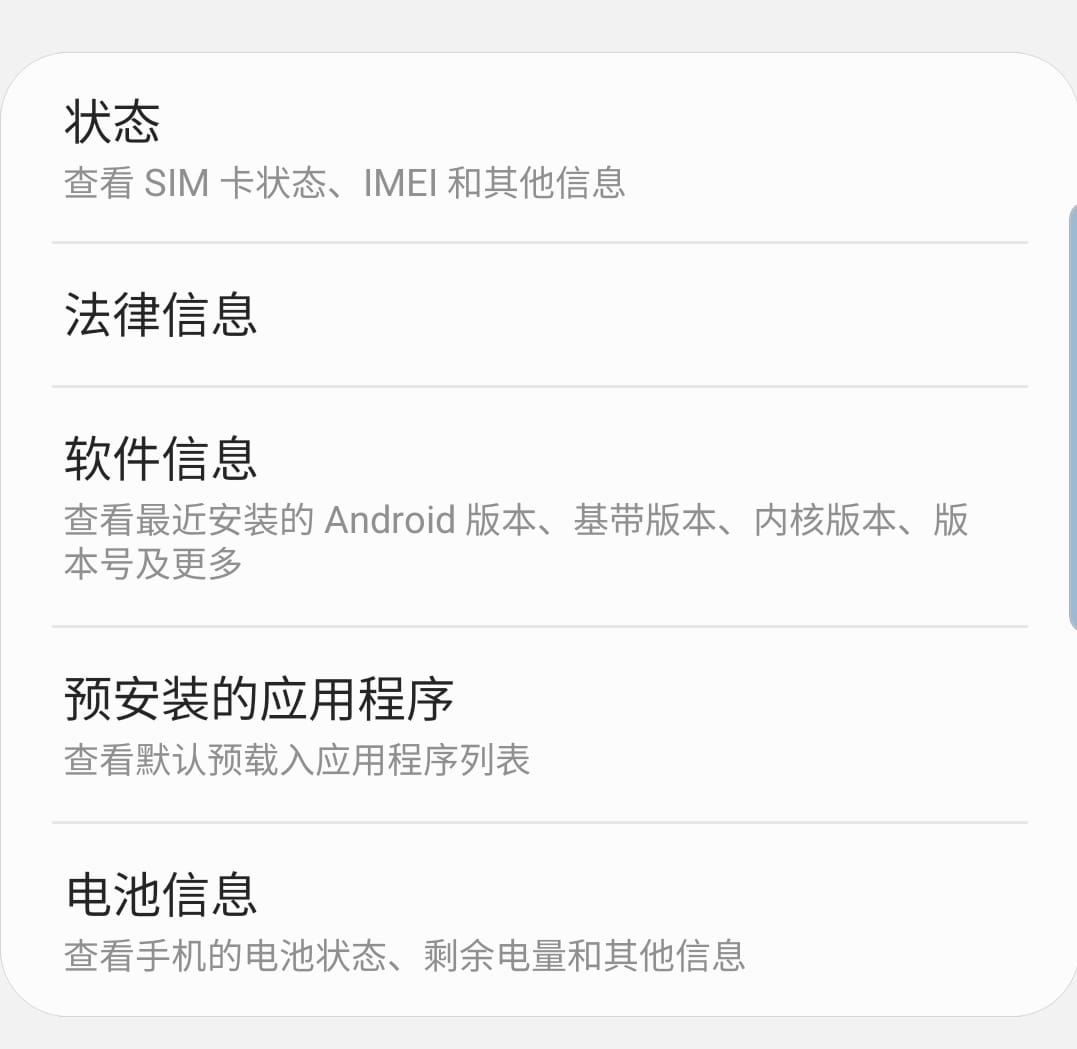
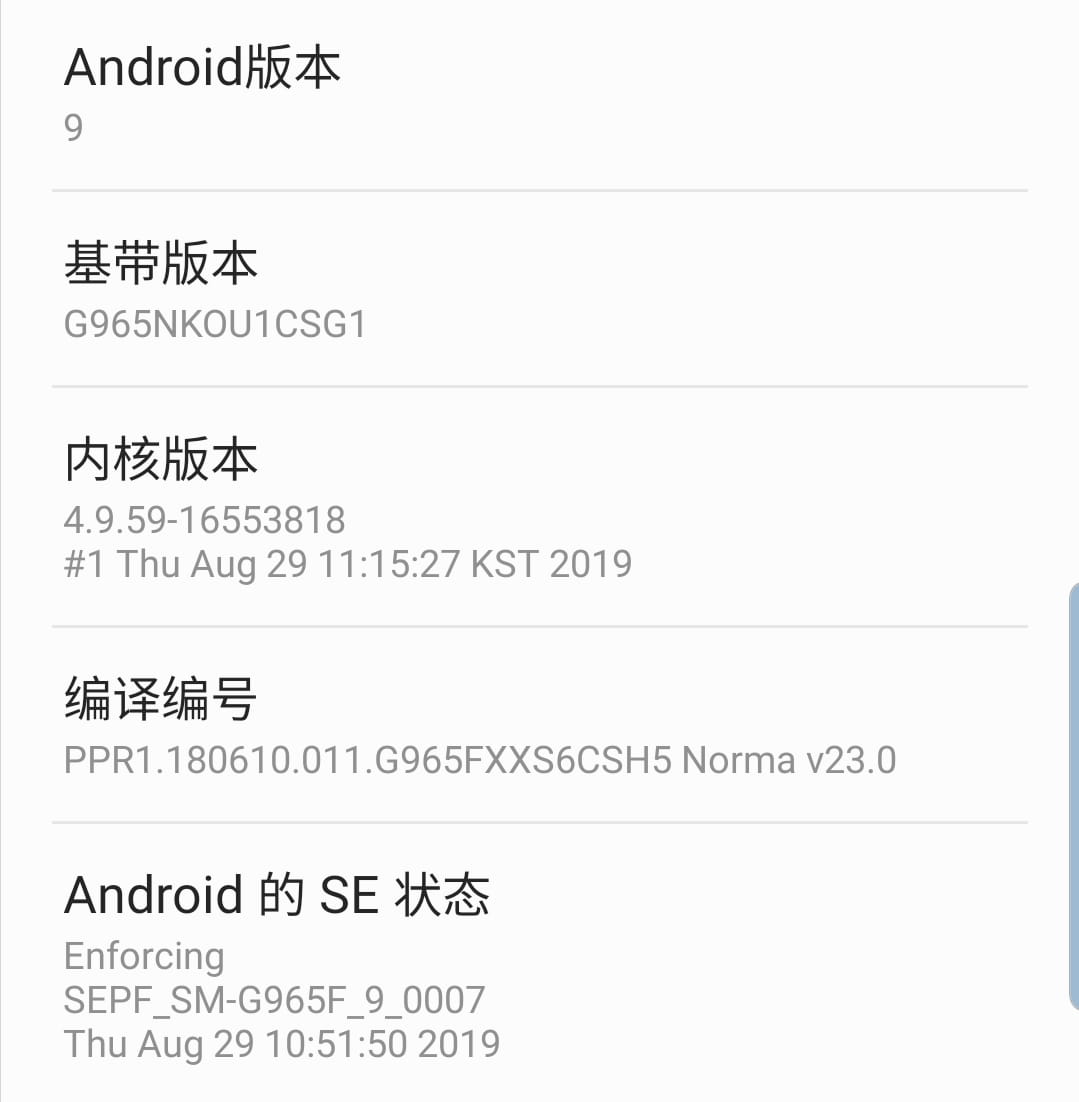
- Enable Developer Options: go to Settings > About phone > Software information and tap Build number seven times.
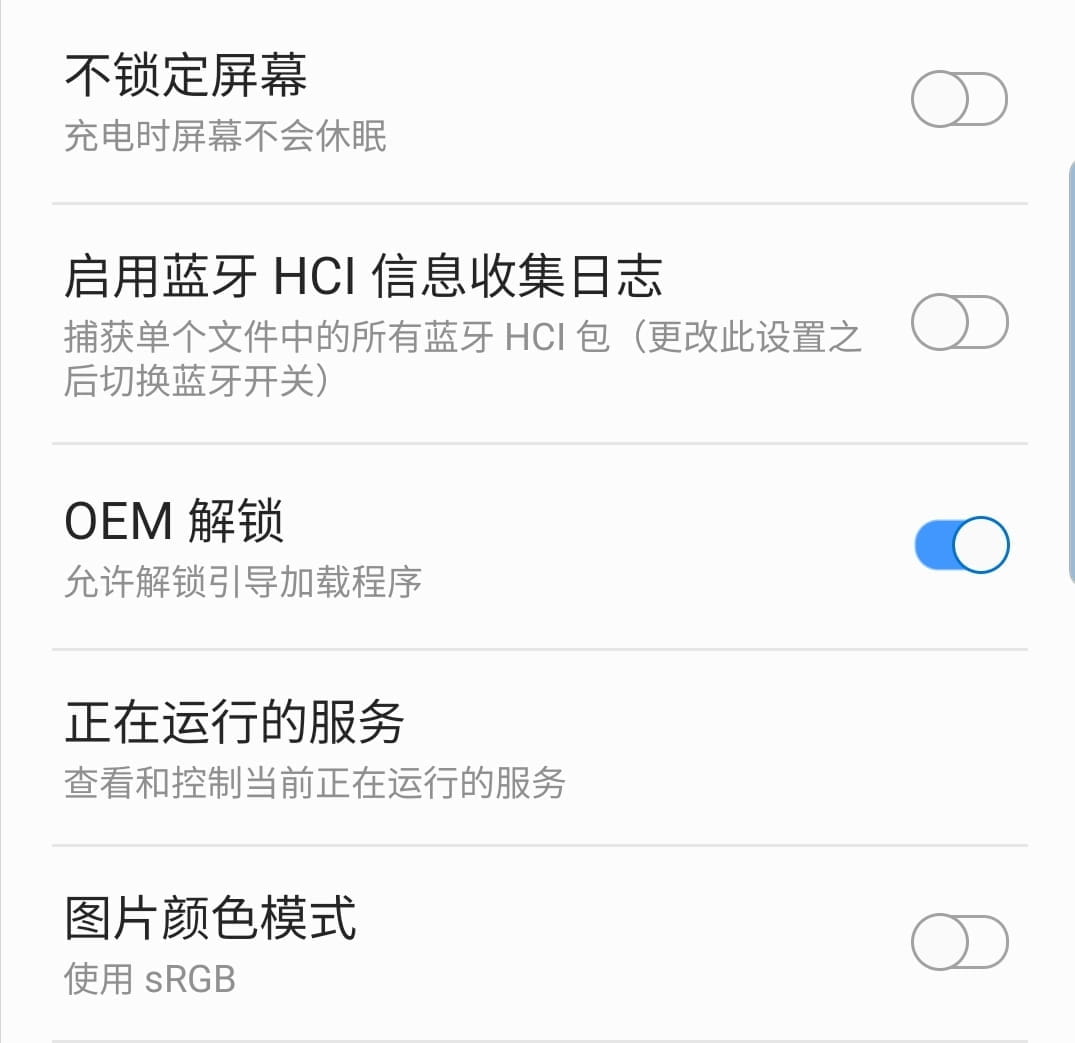
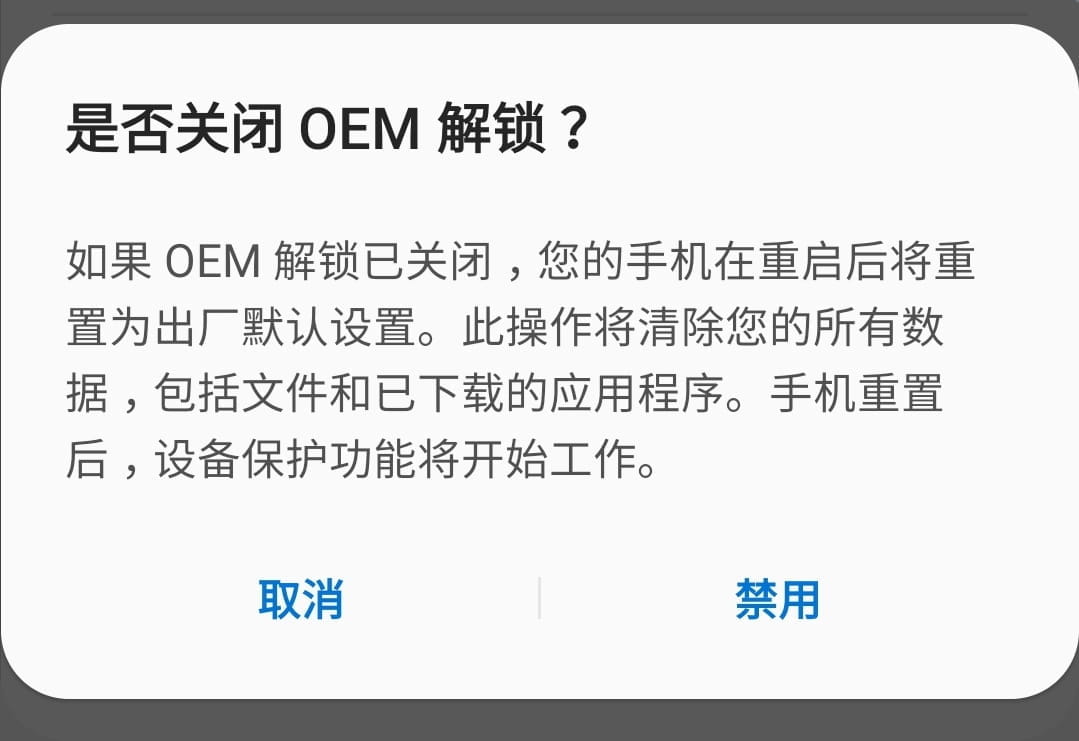
- Return to the main Settings menu, open Developer Options, and toggle OEM unlock. You'll see a warning that data will be wiped and factory reset. Confirm, and the phone will reboot automatically. (If you've already unlocked, the toggle may be greyed out; just follow the opposite of what you see.)
Step 2: Download TWRP
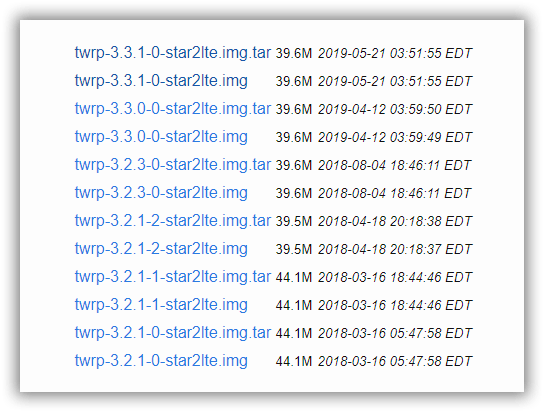
Official TWRP builds are available for the Exynos Galaxy S9+. Download the correct version from the TWRP website.
For the first flash, you'll need the .tar file to use with Odin3. Do not extract it. Once TWRP is installed, you can update it from within TWRP using the .img file: choose Install > Install Image, select the image, and flash it to the Recovery partition.
Step 3: Flash TWRP with Odin
- Boot into download mode: with the phone powered off, hold Volume Down + Bixby + Power. When the blue warning screen appears, press Volume Up to enter download mode. (To exit, hold Volume Down + Power for a few seconds and the phone will reboot.)
- Connect the phone to your PC and open Odin3. Check that Odin recognizes the device—a COM port should appear if drivers are working.
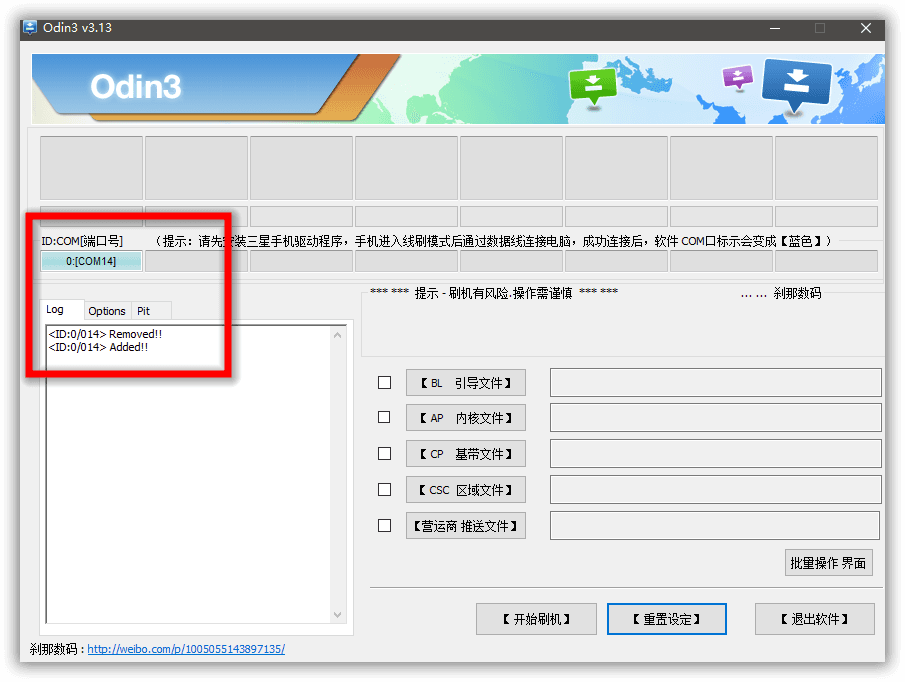
- In Odin, tick the AP checkbox and click AP to select the TWRP .tar file you downloaded.
- This step requires quick timing. Hold Volume Up + Bixby + Power first, then click Start in Odin. Keep holding the buttons until the TWRP splash screen appears, then release.
- TWRP's initial interface is in English. If you need Chinese, you'll have to navigate the language settings yourself; we won't cover that here.
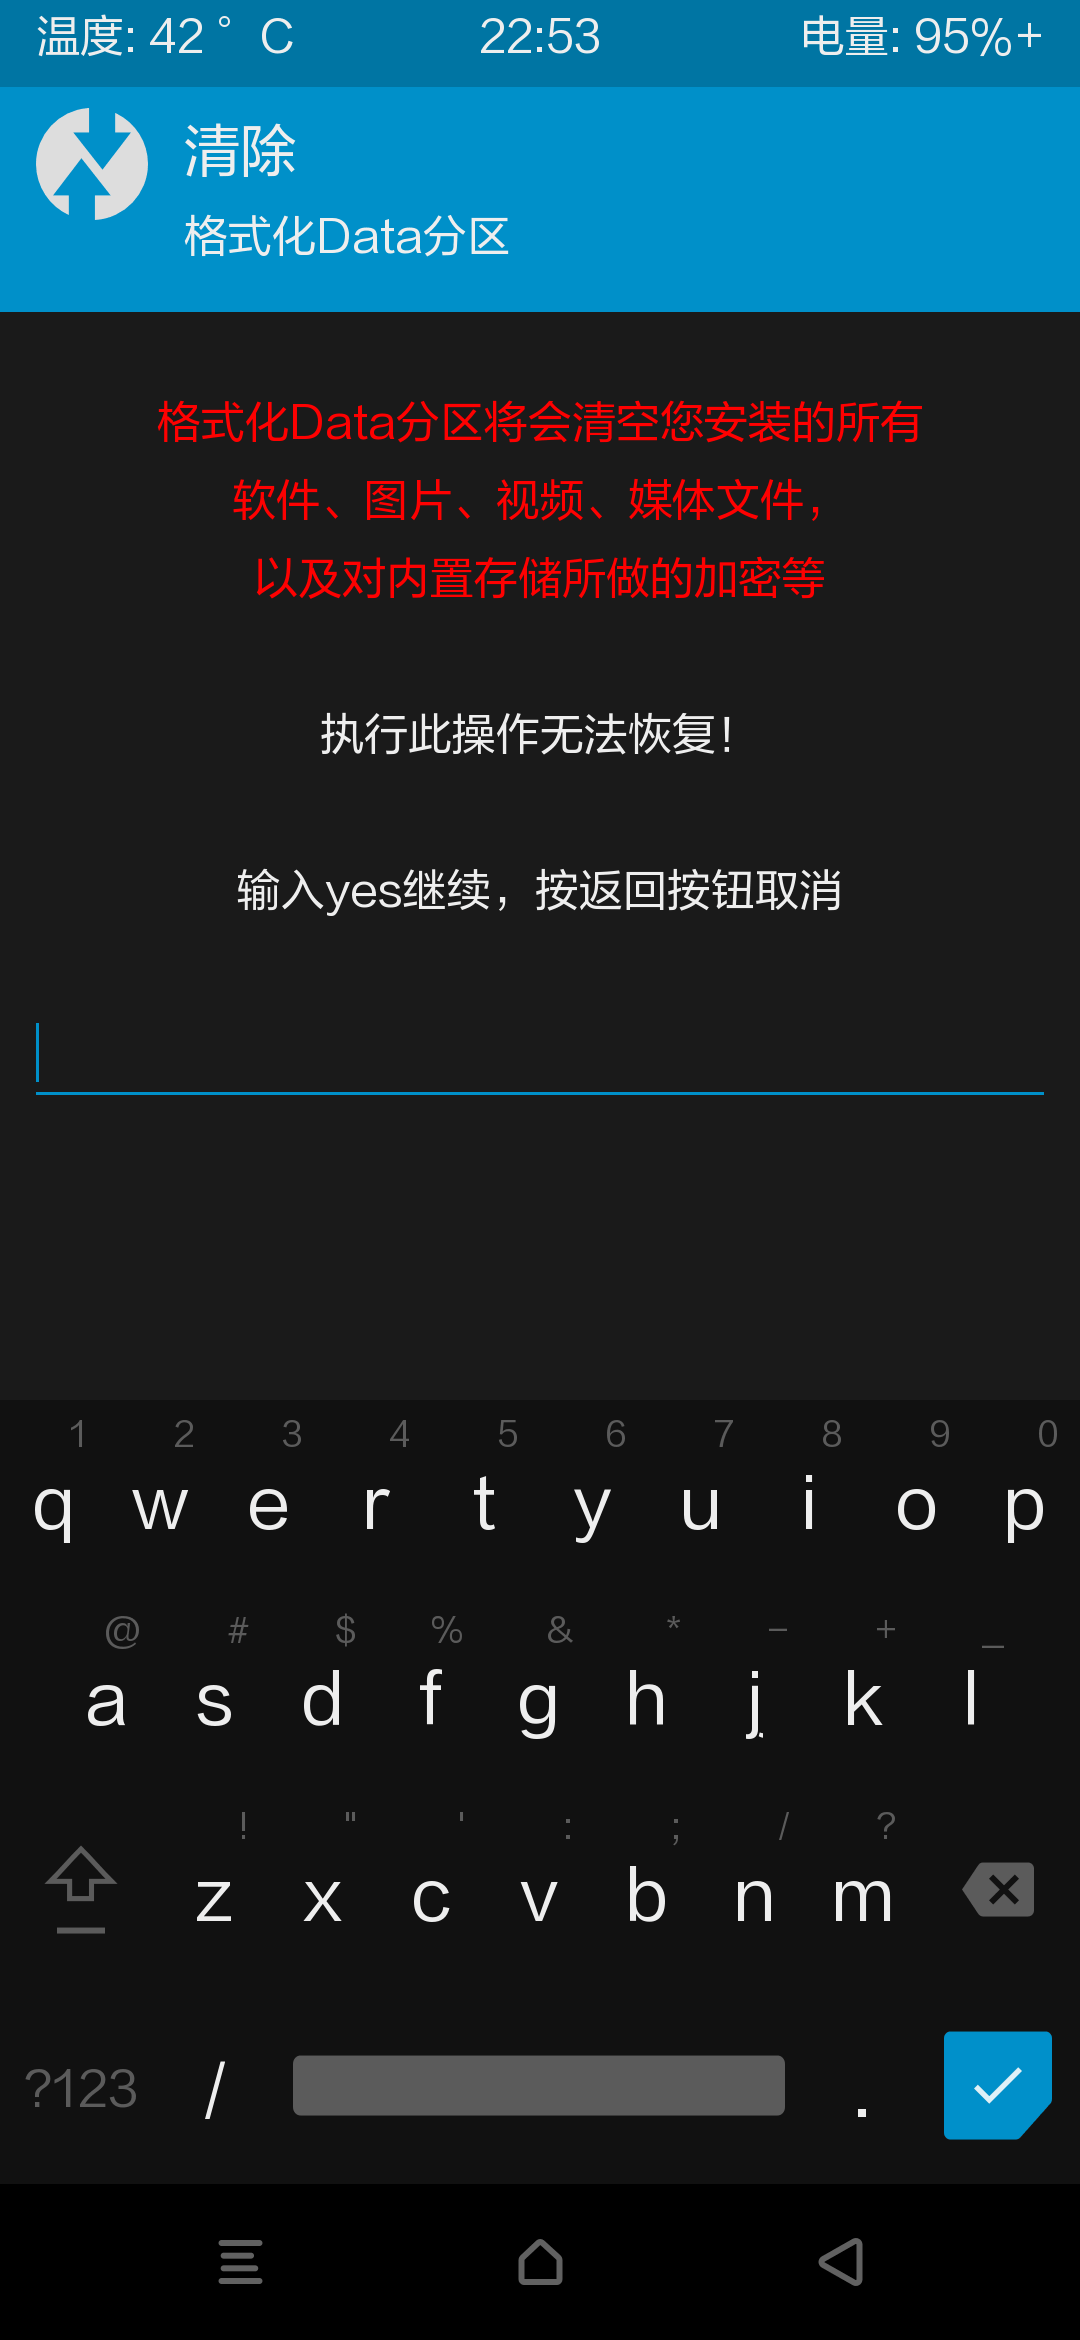
- Once in TWRP, go to Wipe > Format Data. Type
yesand confirm to wipe the system data. This is recommended for a clean start.
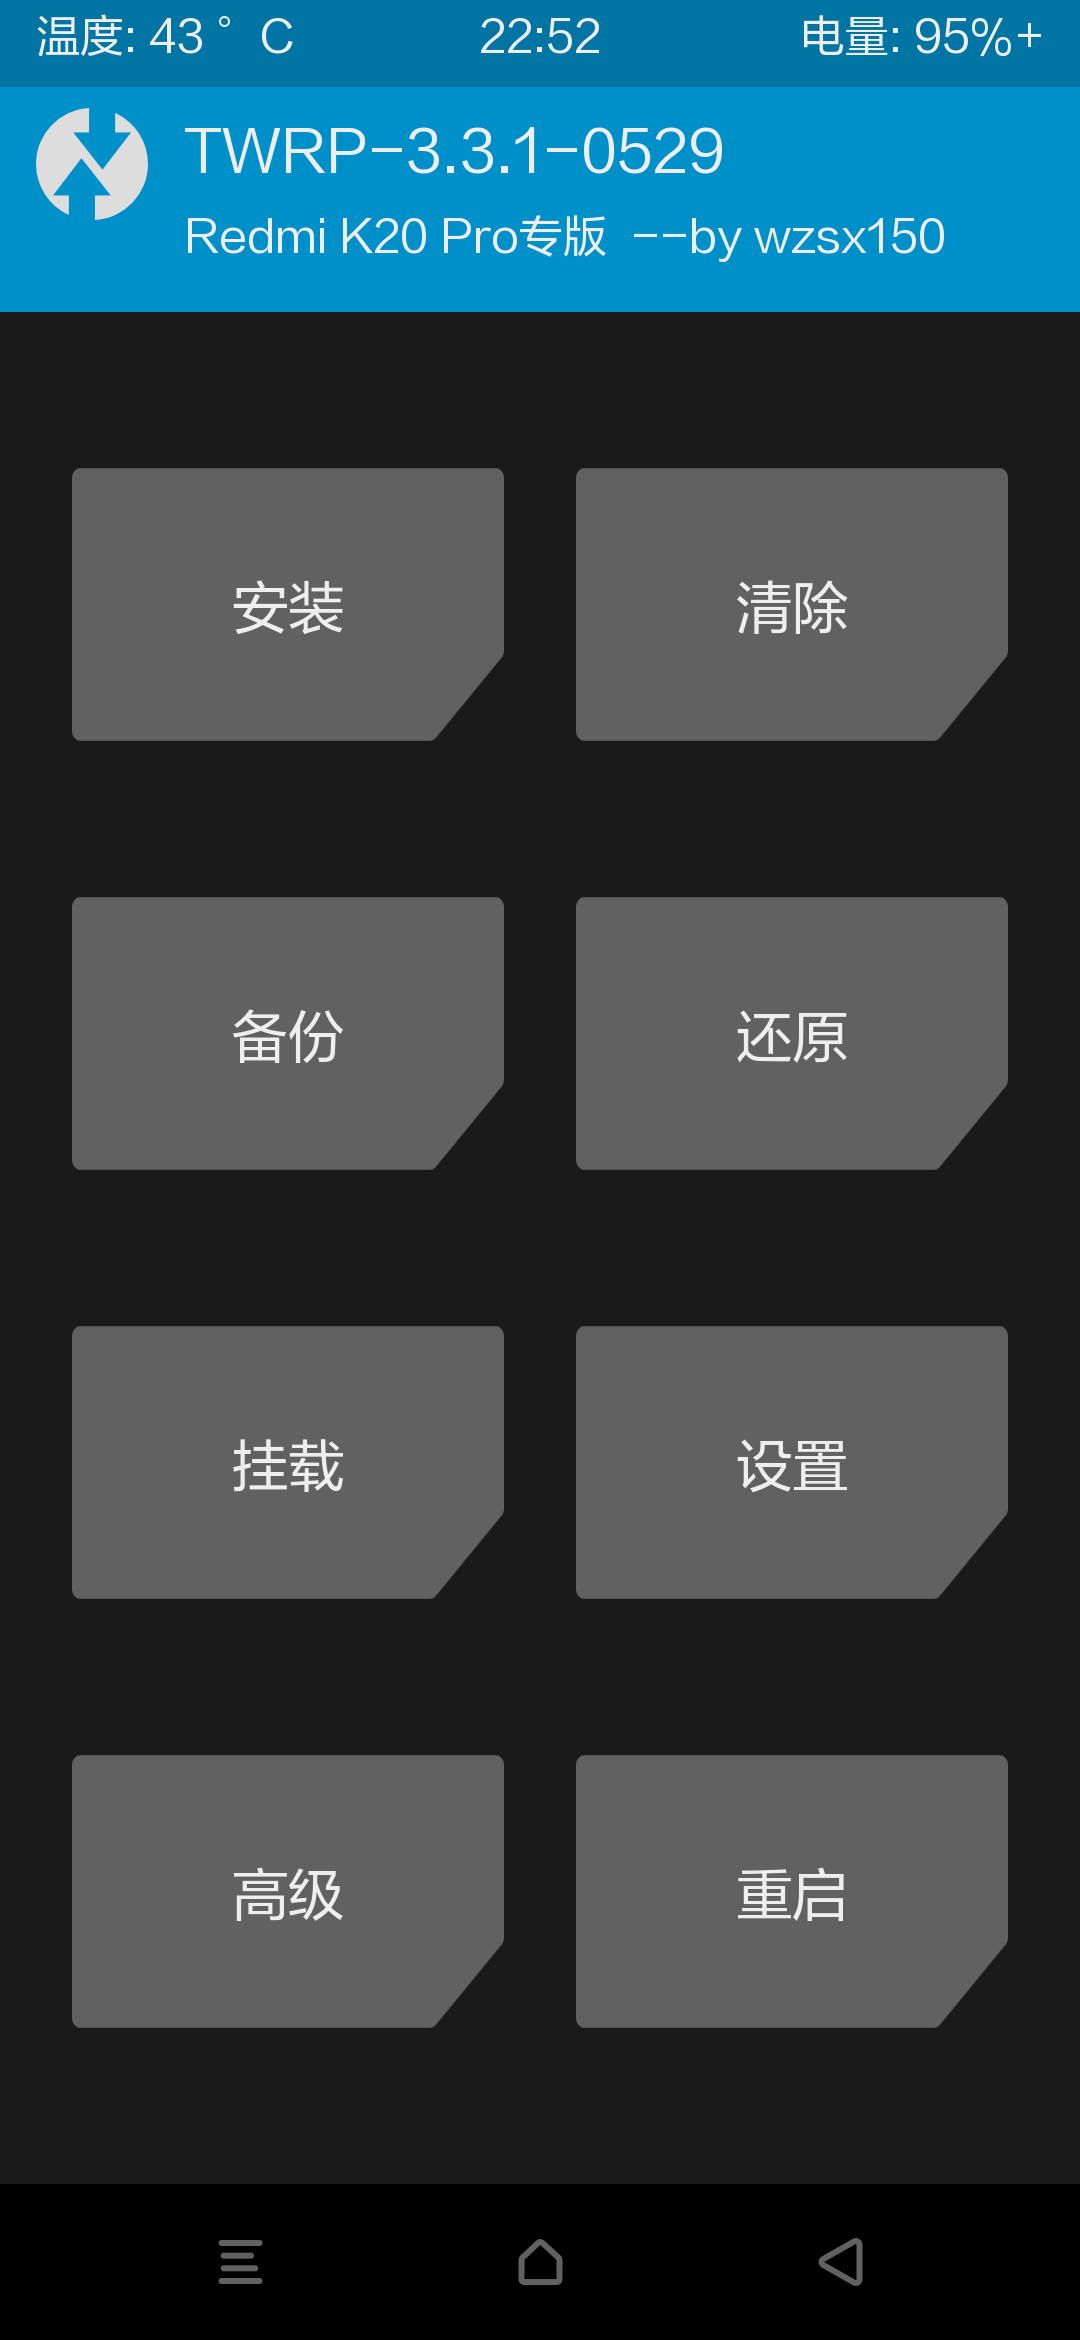
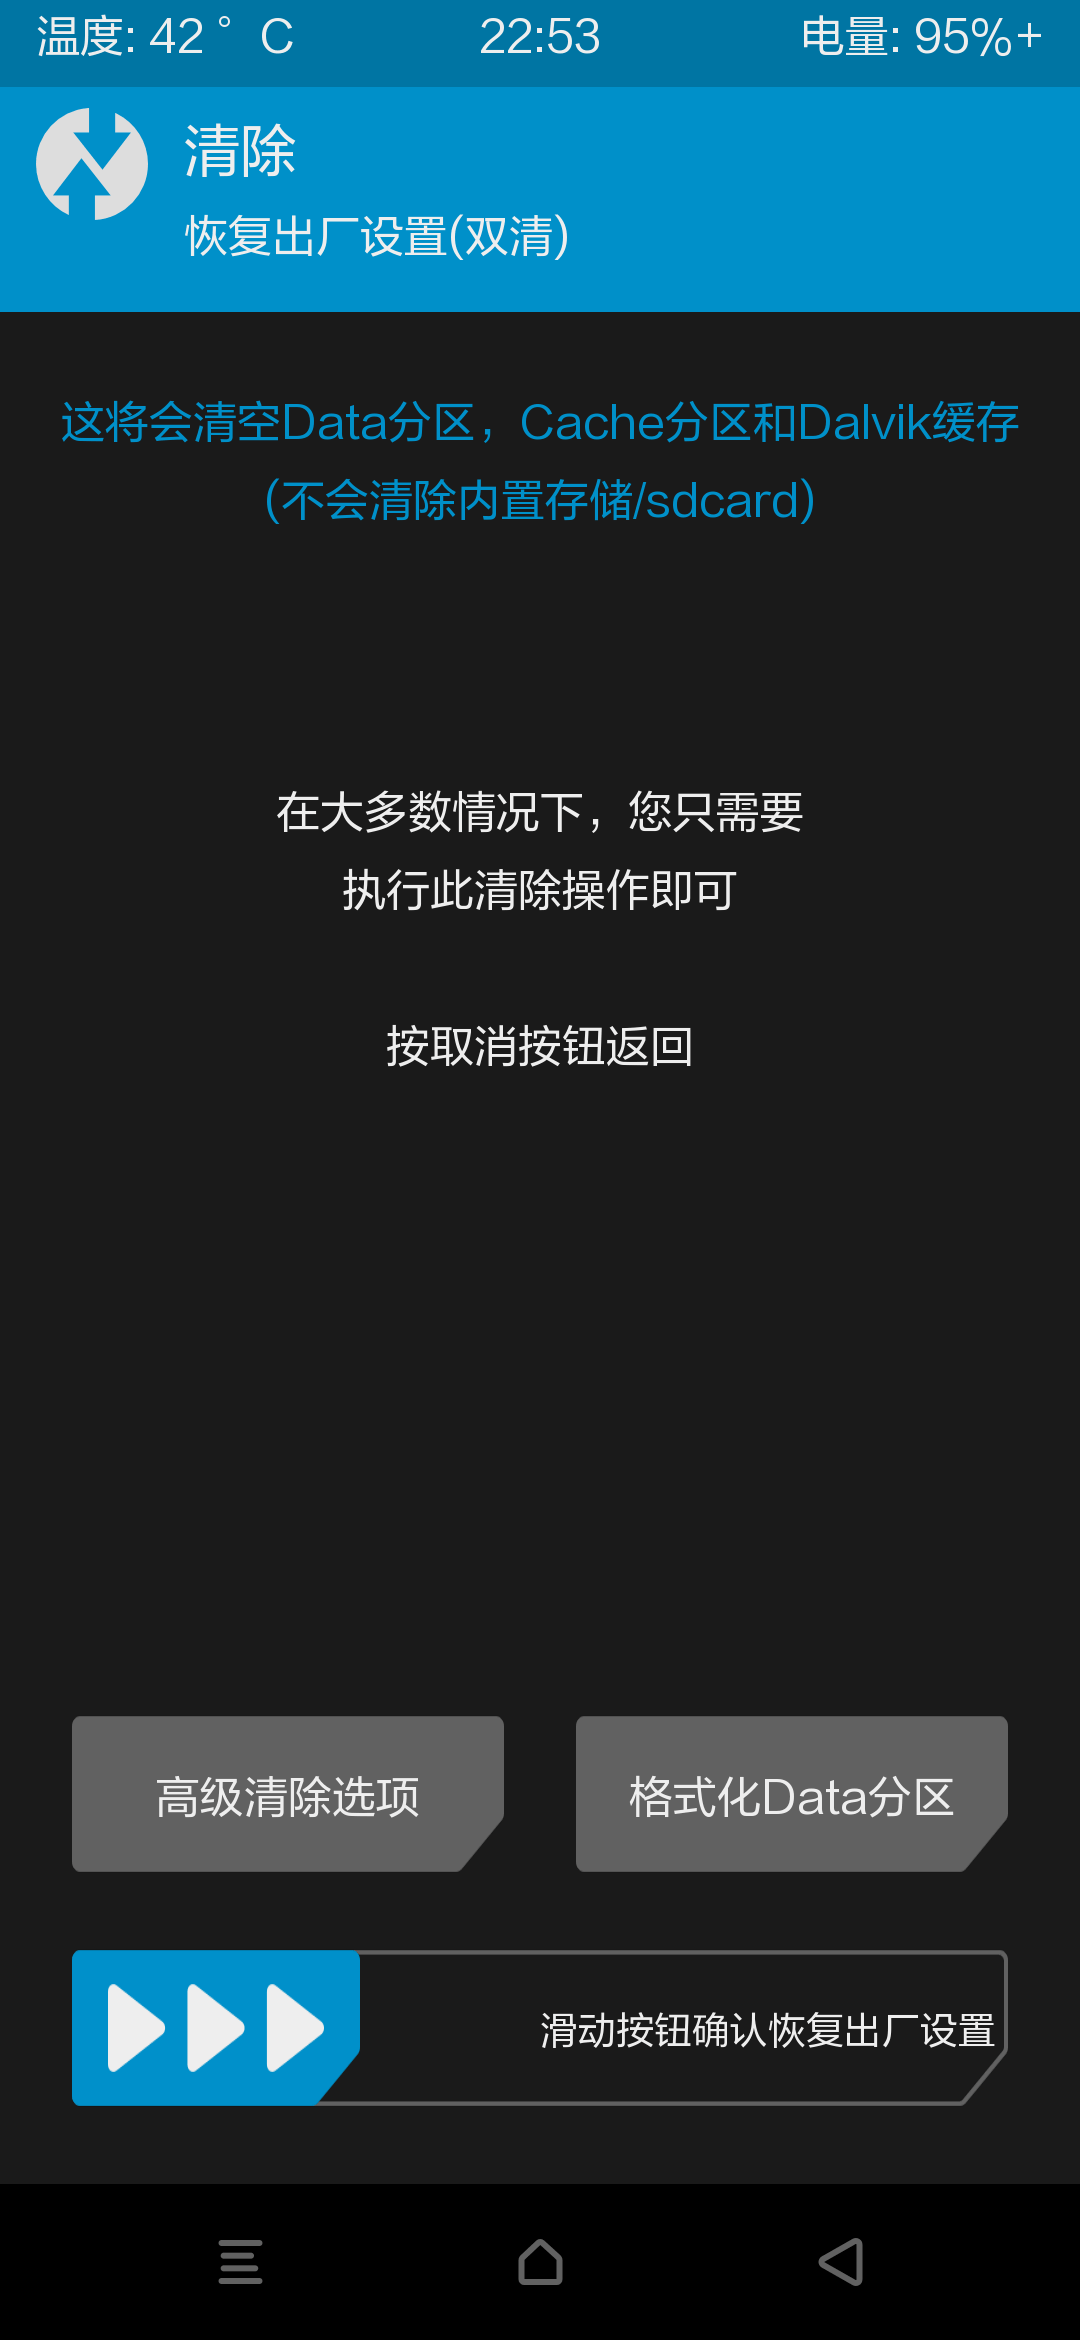
TWRP is now installed.
Step 4: Install a Custom ROM
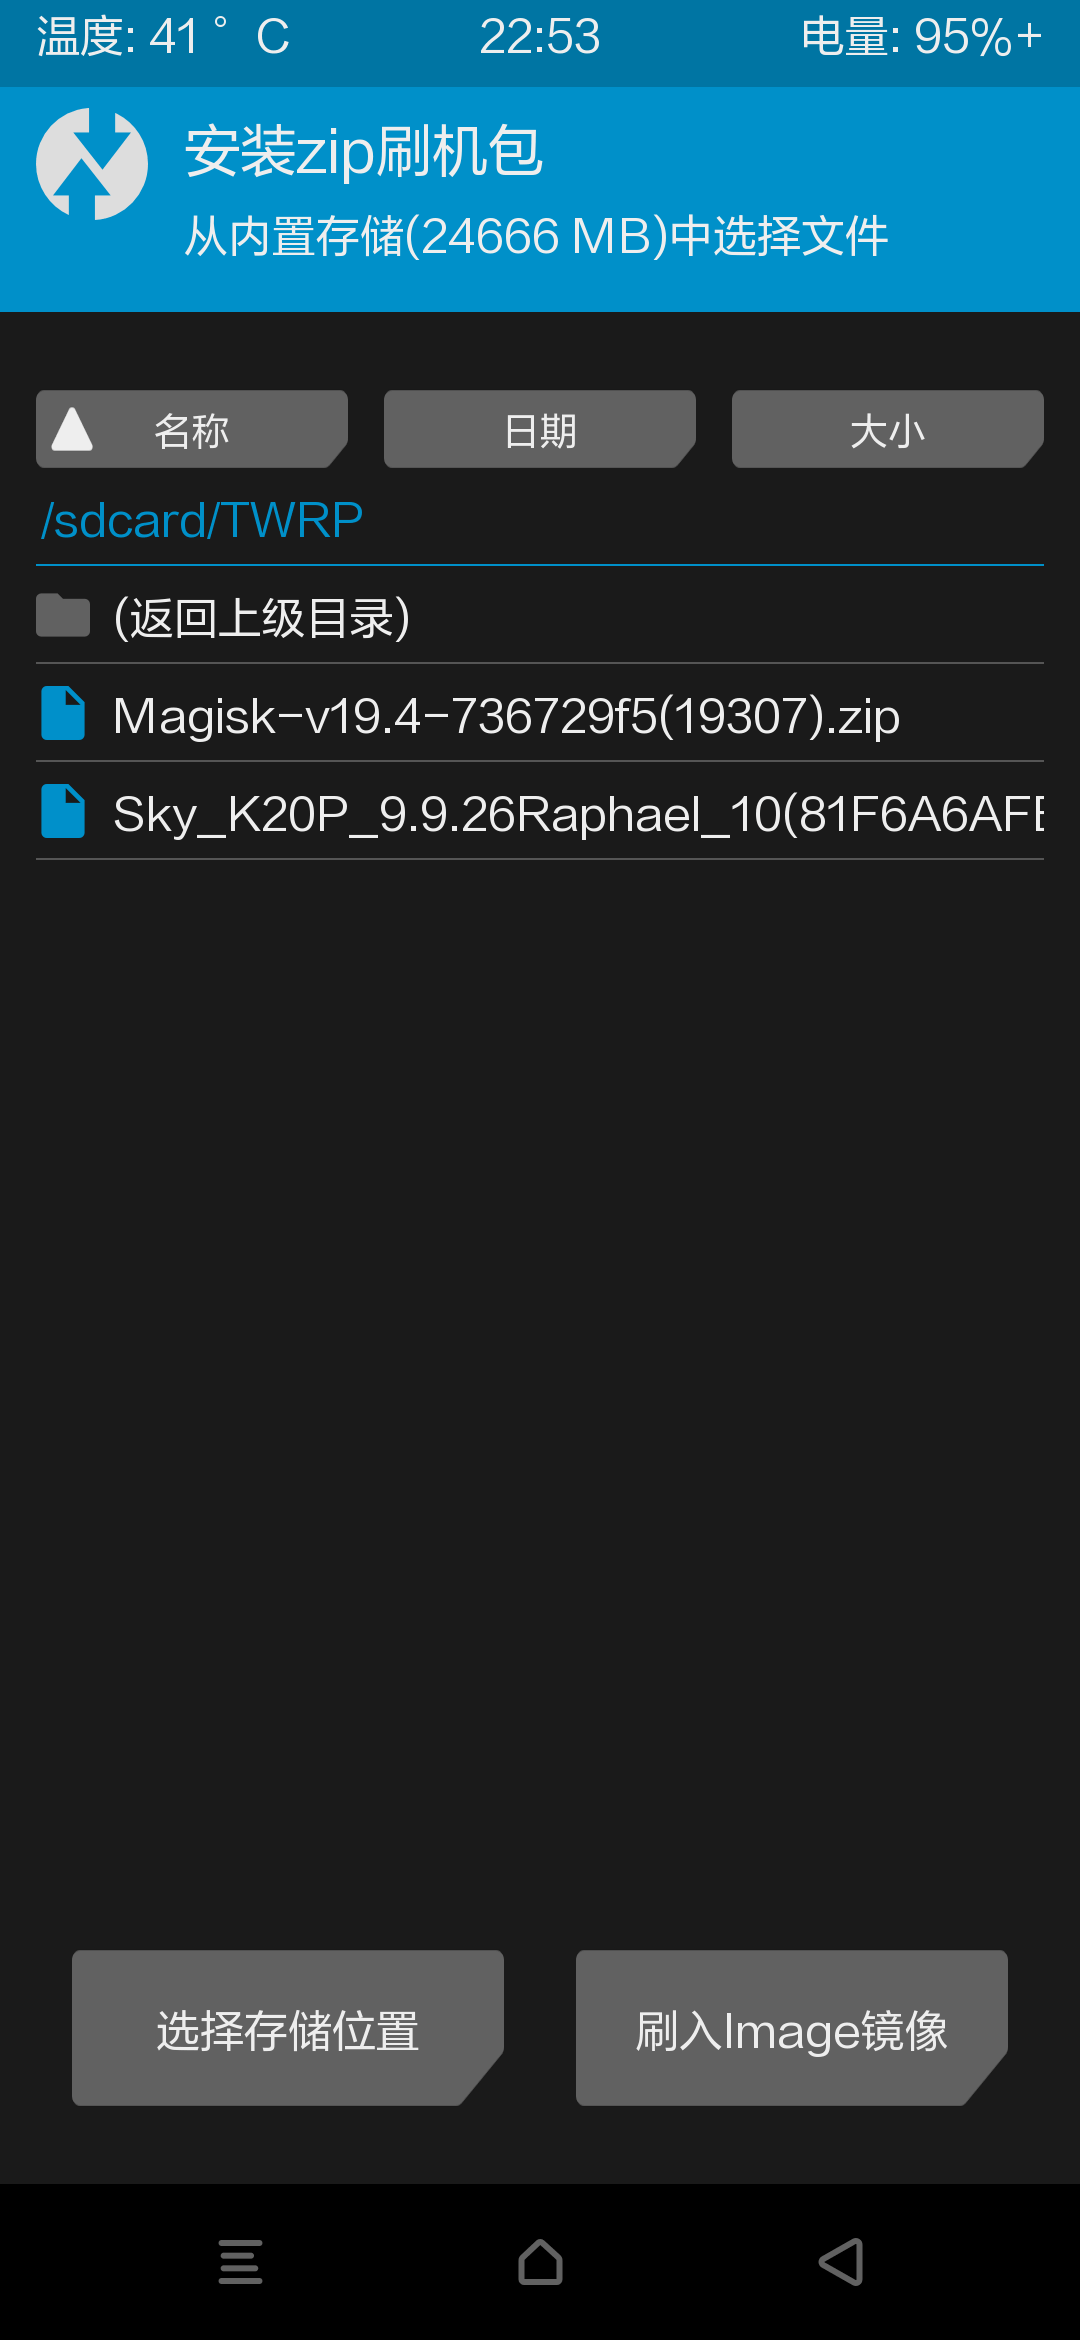
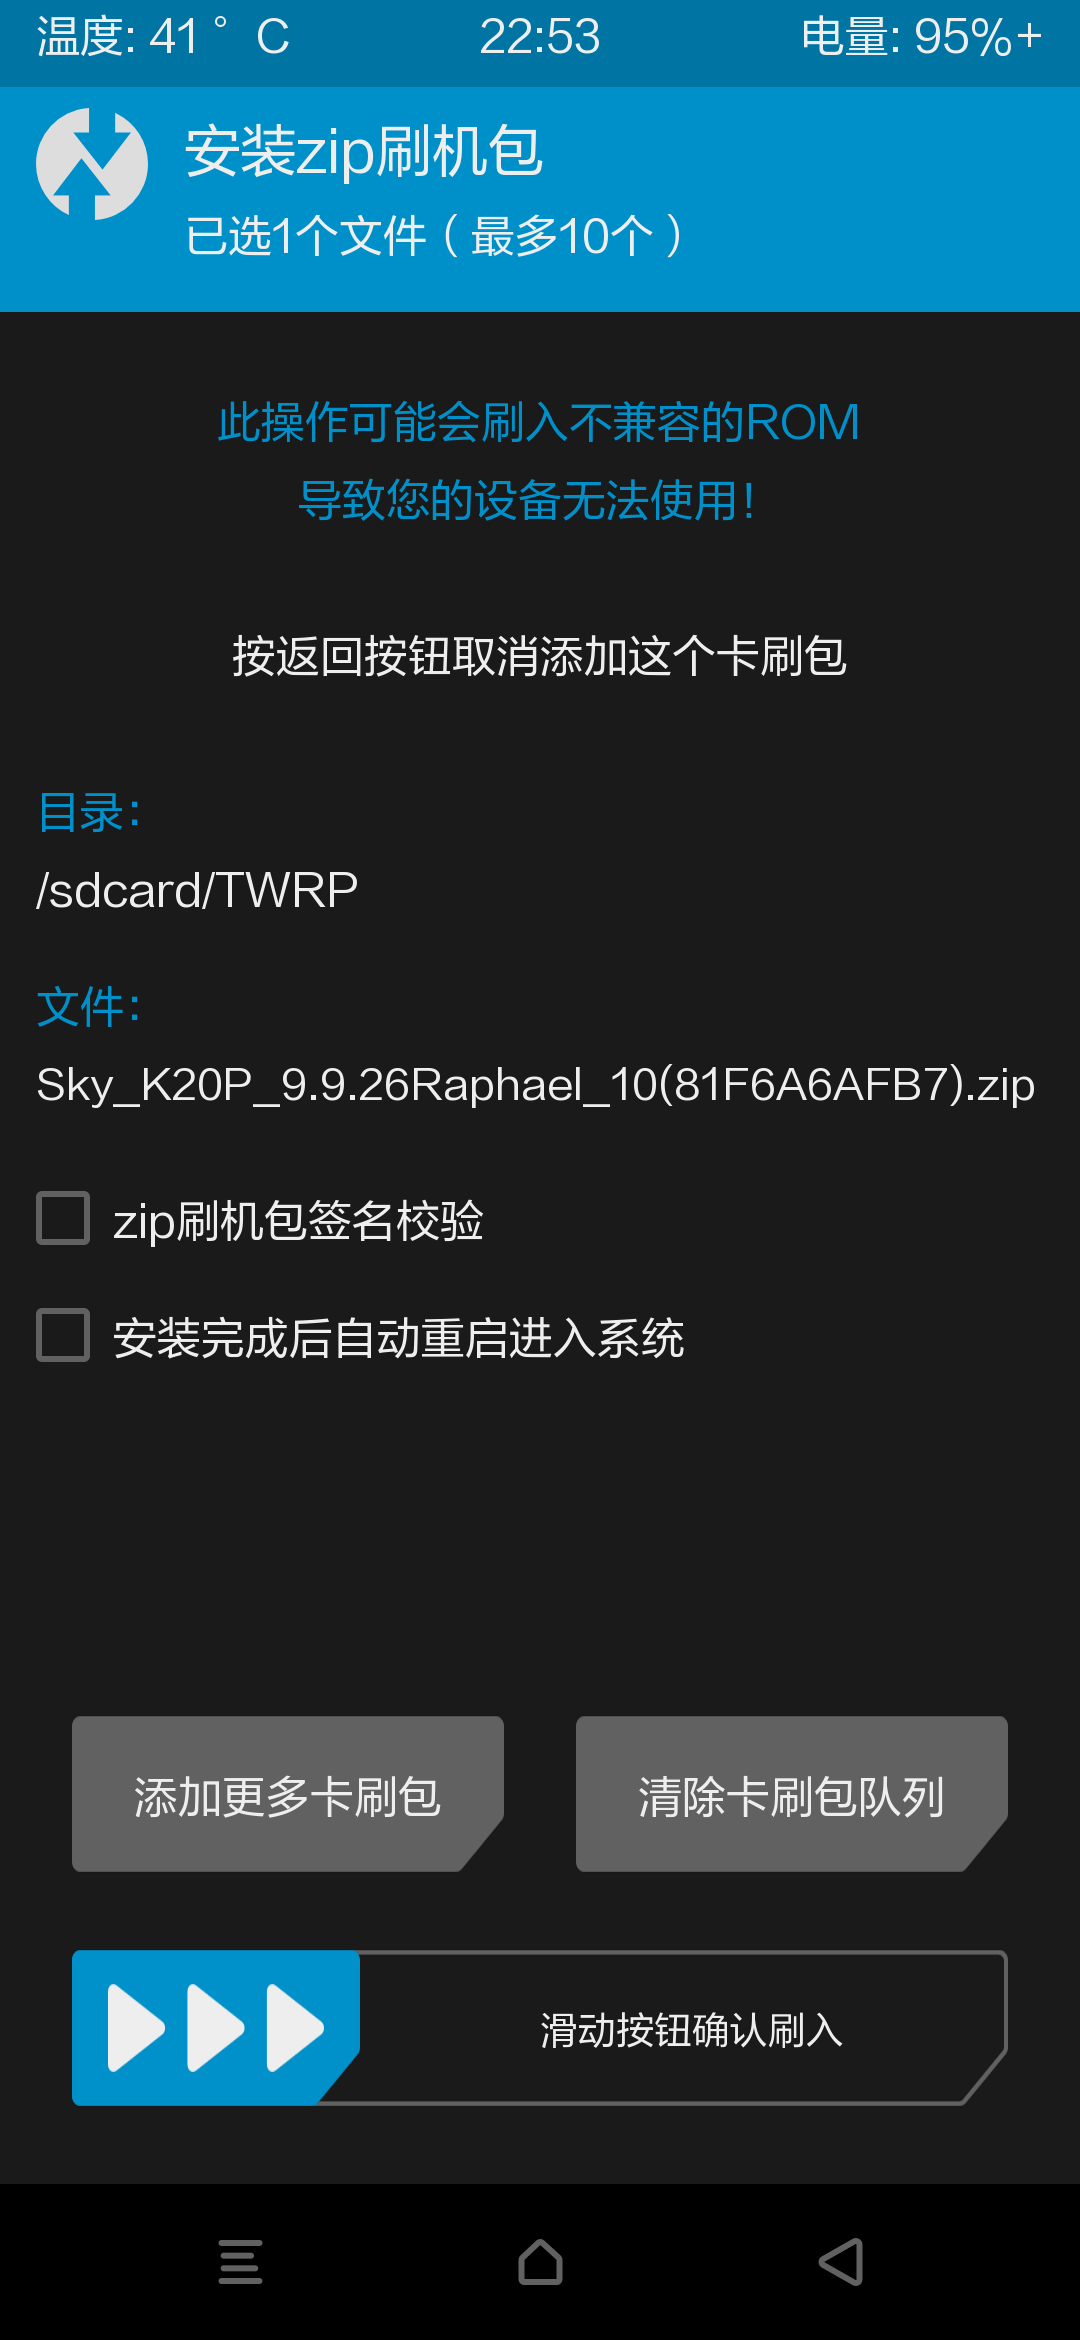
Download a custom ROM for the Exynos S9+ from a community forum. Copy the ROM zip to your phone, then in TWRP tap Install, select the zip, and swipe to confirm the flash.
Since the stock Korean firmware is largely in Korean and not fully localized, you might prefer a modified ROM with additional language support. Note that AOSP-based ROMs are rare for Exynos models, which is a downside if you prefer a stock Android experience.